
How To Add a Custom or Third-Party Synesthesia Scene
Open Synesthesia.
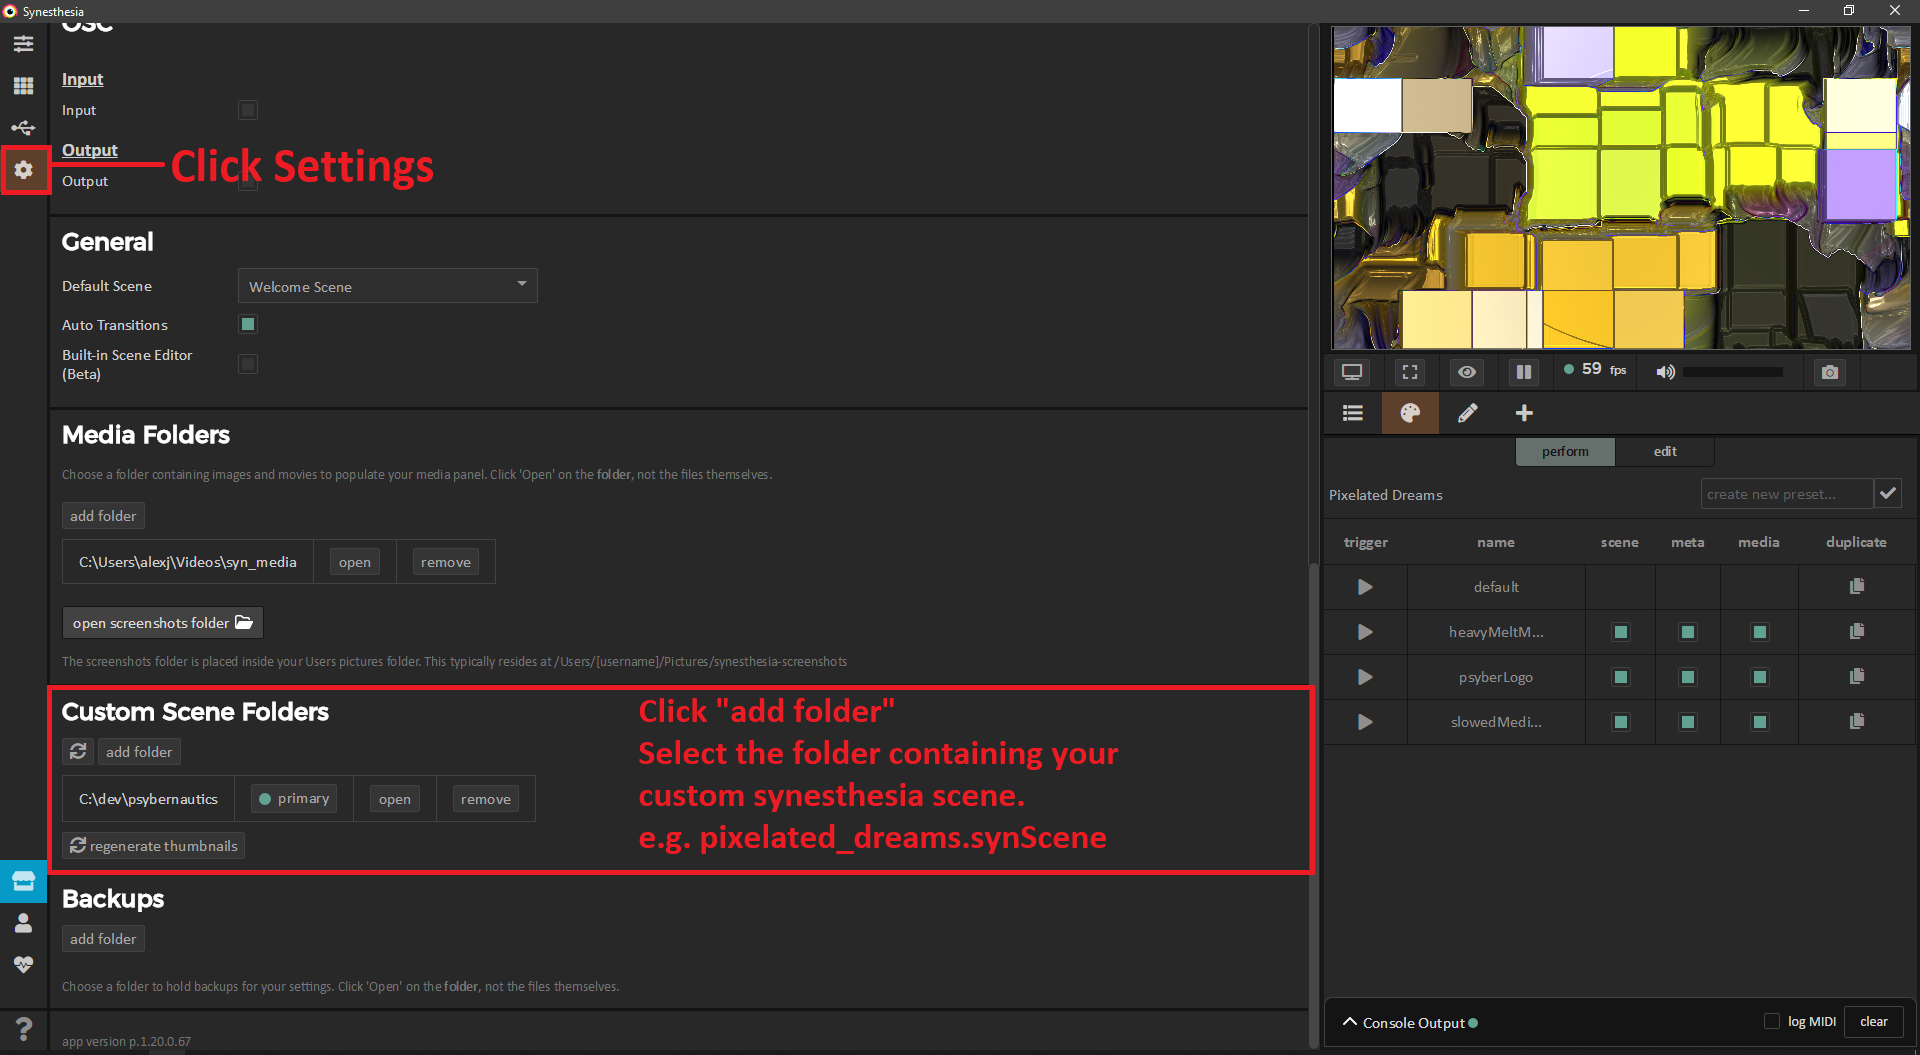
Click the gear icon on the upper left hand icon window.
Scroll down to the “Custom Scene Folders” section
Click “add folder”
Select the folder containing your custom synesthesia scene.
e.g. pixelated_dreams.synScene
Close Synesthesia
Reopen Synesthesia
Navigate to your scene library and see that all of the “<name>.synScene” folders containing synesthesia scene have have been added to your library.
“A custom scene folder is required for saving any scenes outside of Synesthesia’s built-in content. It is simply a folder that will hold .synScene files that you have downloaded, or any you have converted using the Import Panel. To set a custom scene folder, simply create a folder on your Desktop (or any other location), named something like “My Scenes” or anything you’d like. Then in Synesthesia Settings, go to “Custom Scene Folder” and click “add folder”, and locate that new folder. Now any time you create a new scene in Synesthesia or import a scene from the Import Panel, it will appear here, and any scenes in this folder will be added to your Scene Library.”